Machine&Module:NEJE Max 4 & E80
Material&Tools:MDF 30cm*40cm, white spray ,black spray
The Idea You Can Get from this Post:

1.Materials You Need to Prepare
Size: If you plan to put it inside a photo frame, you can cut the right size according to the size of the frame.
Color: Spray the MDF with 2 layers of white and 2 layers of black. After each layer is dry, spray the next layer.
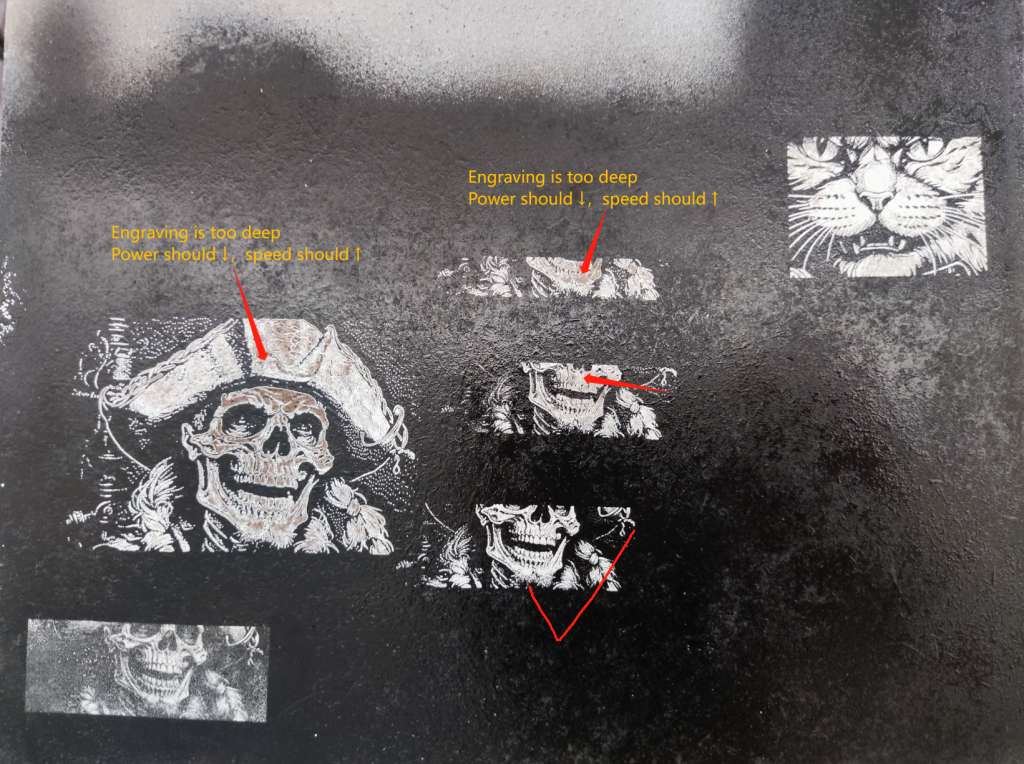
Note: You can prepare an extra small piece of MDF to do the same treatment for testing before formal engraving. Since there may be differences in the type of paint, the specific parameters should be adjusted appropriately according to the test results.
2.Image You Need to Prepare
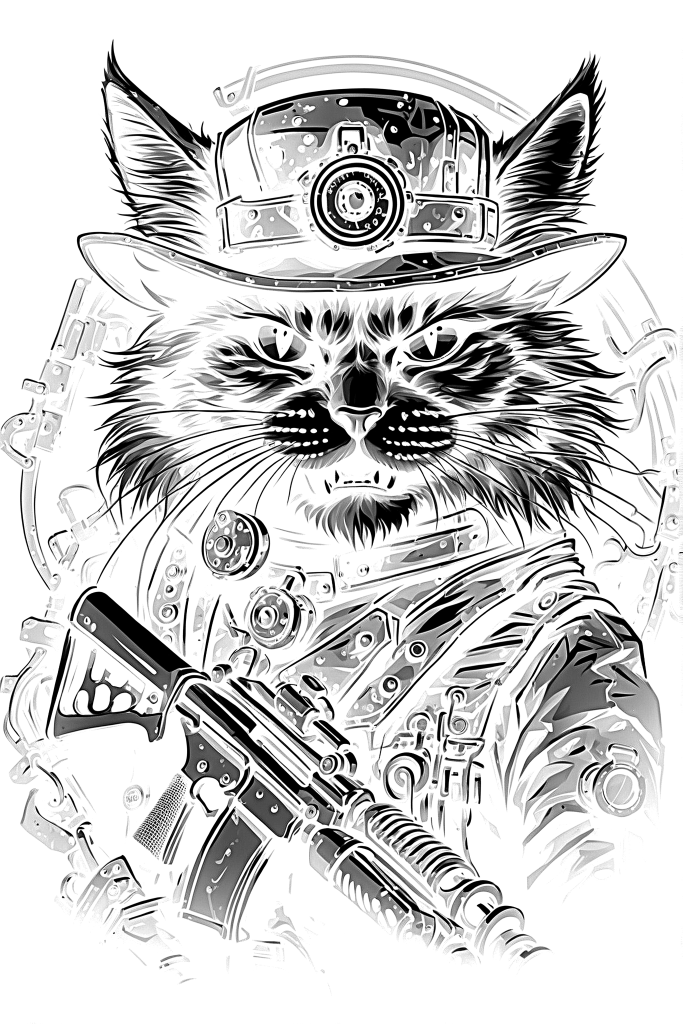
Process the original image in ImagR,318DPI, Skeldon Grayscale, download the image in PNG format. You can also engrave the prepared image.

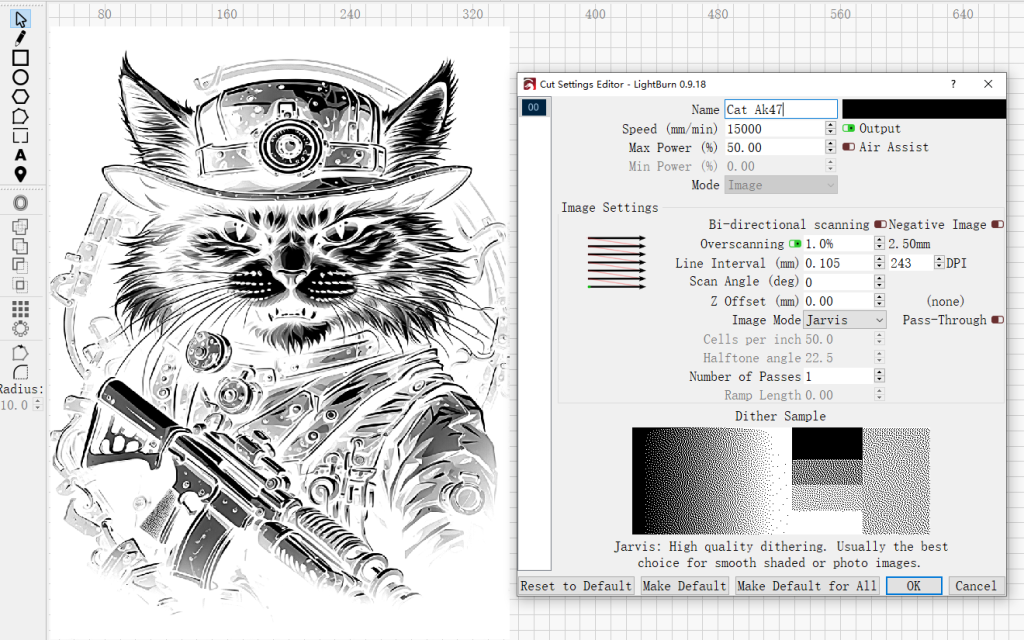
3.Connect the machine, open Lightburn and load the processed picture.
4.Have a Test to Make Sure Your Images Are Perfect to Engrave
Put the small MDF dried after painting on the honeycomb board, adjust the focal length to 25mm. speed 15000mm/min, power 50%, air-assist off, line spacing 0.1mm, image mode Jarvis. the test result should be white, and you shouldn’t see the brown MDF. if so, then you need to increase the speed, or decrease the power. If you see black, then decrease the speed, or increase the power. Until the test produces satisfactory results.

5. Set the Parameters according to the Test.
Speed 15000mm/min, power 50%, (It can be adjusted according to your test results) air assist off, interval 0.1mm, image mode is Jarvis.

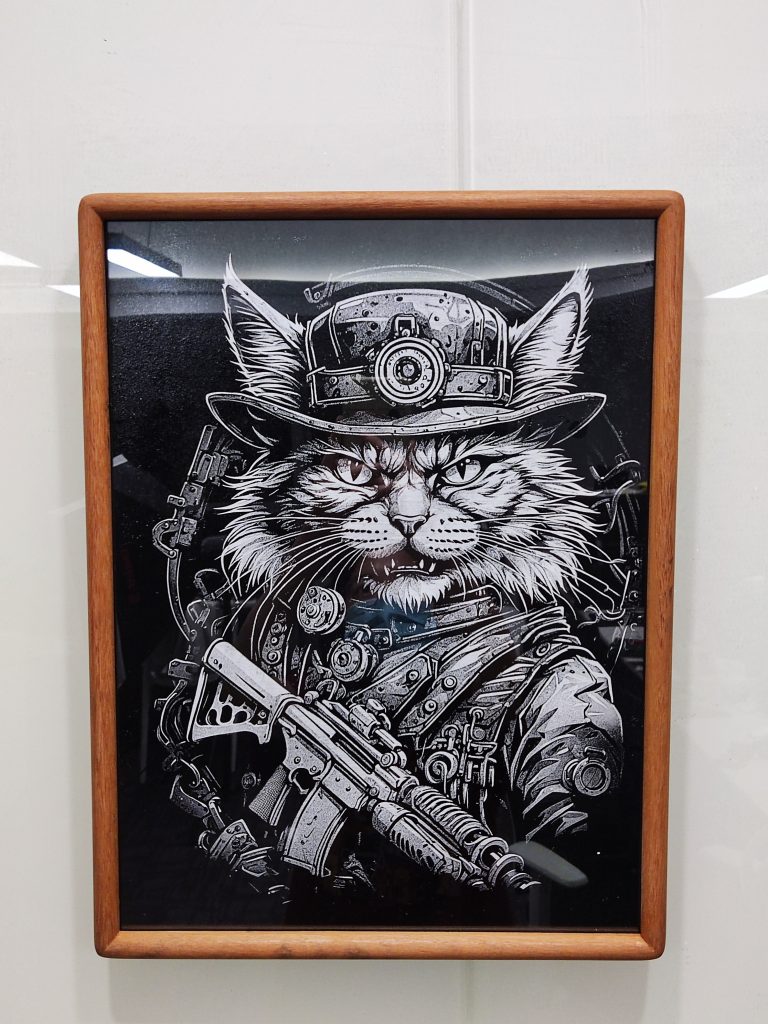
6.Install It into the Photo Frame after Engraving

How do you feel about the website? Do you have any suggestion? Please leave your comments.
- ALL-NEW Laser Rotary Attachment: Micron-level precision & One-handed operation
- Plywood Laser Cutting Tutorial: Step by Step – Snake Lantern
- NEJE laser engraver ideas——Zodiac Tailsman
- NEJE laser engraver ideas——Teapot storage
- NEJE laser engraver ideas——Mario refrigerator magnet