Machine & Module: NEJE Max 4 & E80
Material & Tool: 3mm Plywood, acrylic marker or water color pen, glue, badge pin
The Idea You Can Get from this Post:
Tutorial Guides:
1.Pre-focus
Place the plywood and measure the focal length between the plywood and the E80 module to be 25mm.
2.Upload Your File
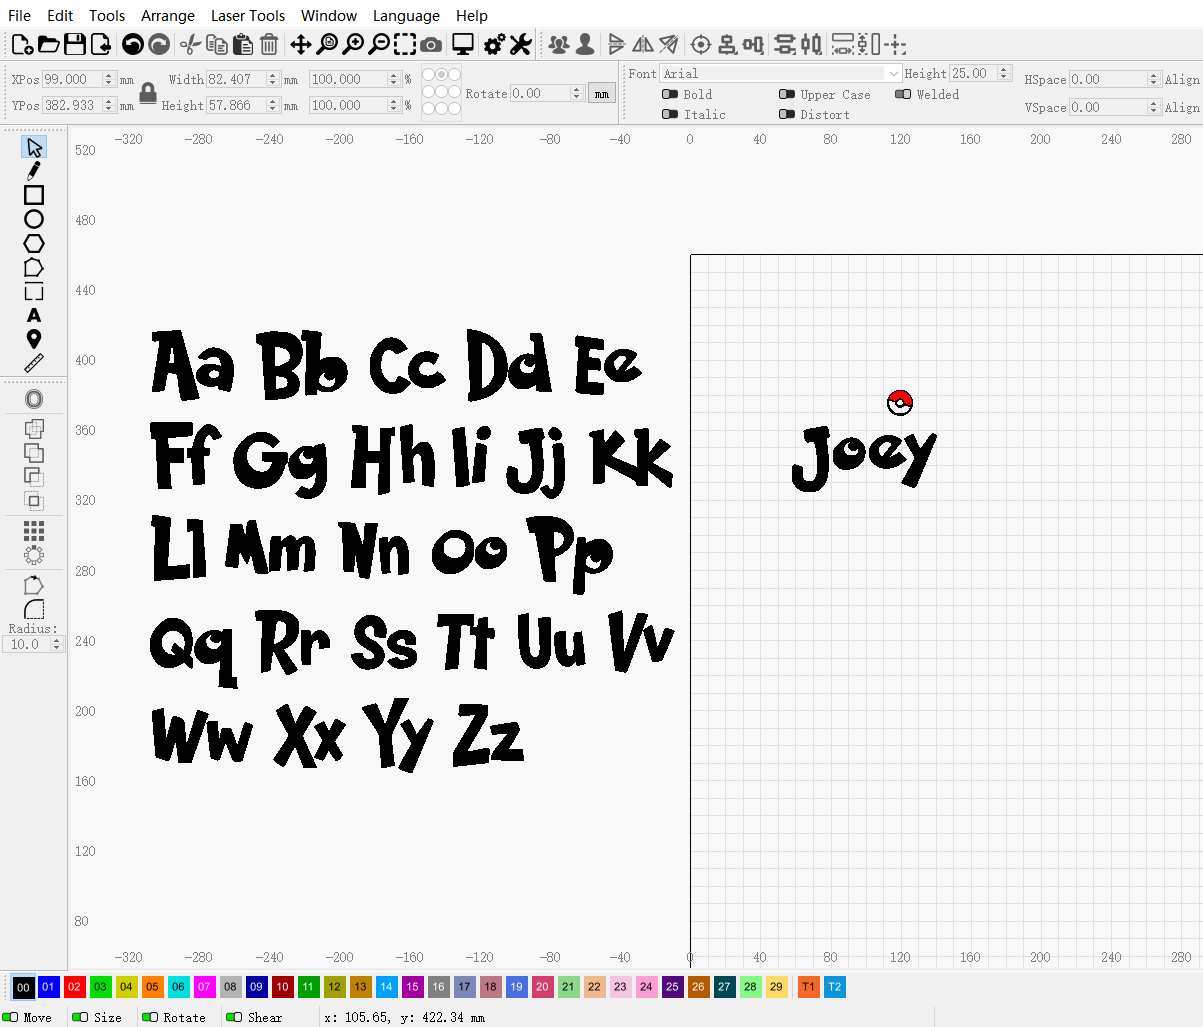
Connect the machine and open lightburn, upload the dxf file you downloaded to the lightburn application interface. All letters and a Poké Ball will appear.

3.Create your own name tag
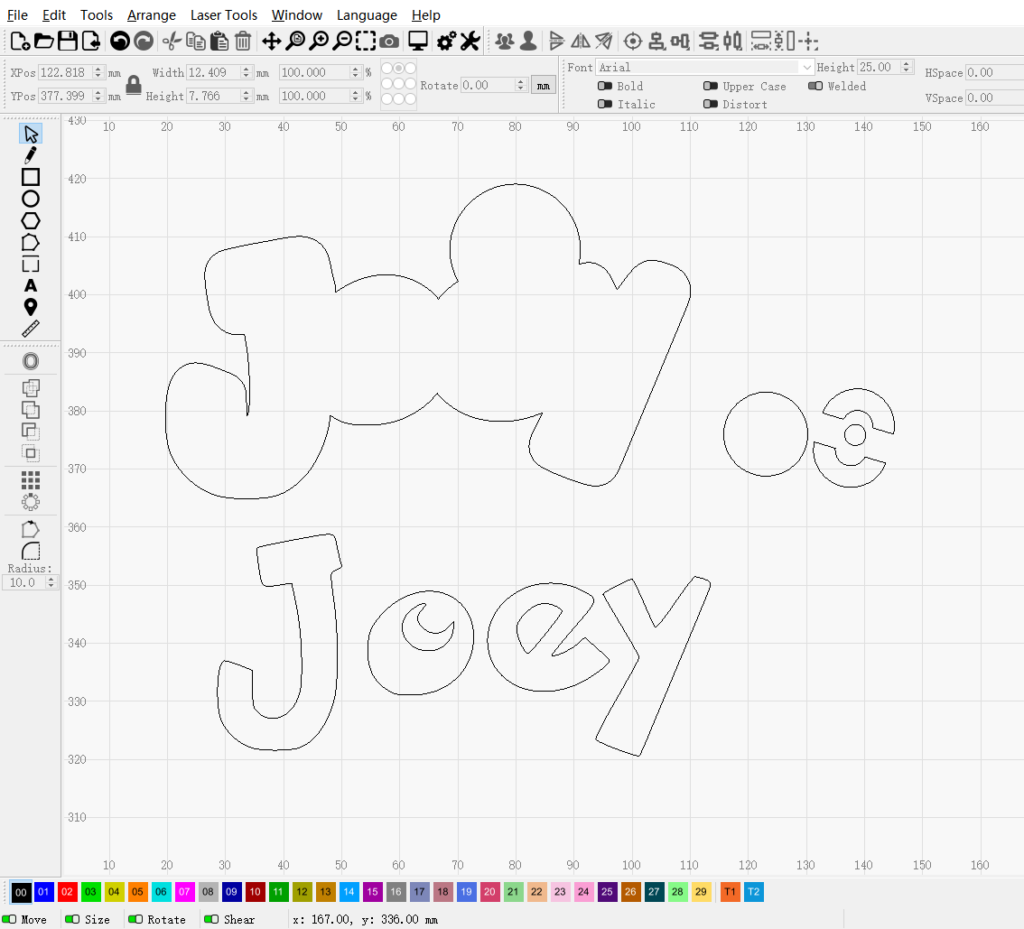
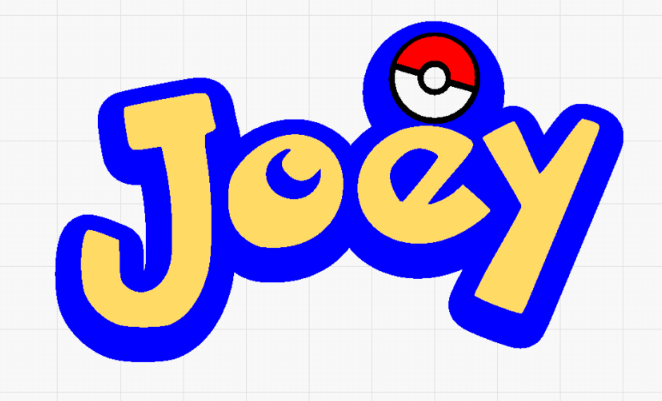
①Choose the letters of your name and the Poké Ball and place them in the machine’s working area,
②After placing your Poké Ball wherever you want, select all and use the offset fill to make a background for your tag. Then you will get a name tag that belongs only to you.

③Now we need to separate them and cut.
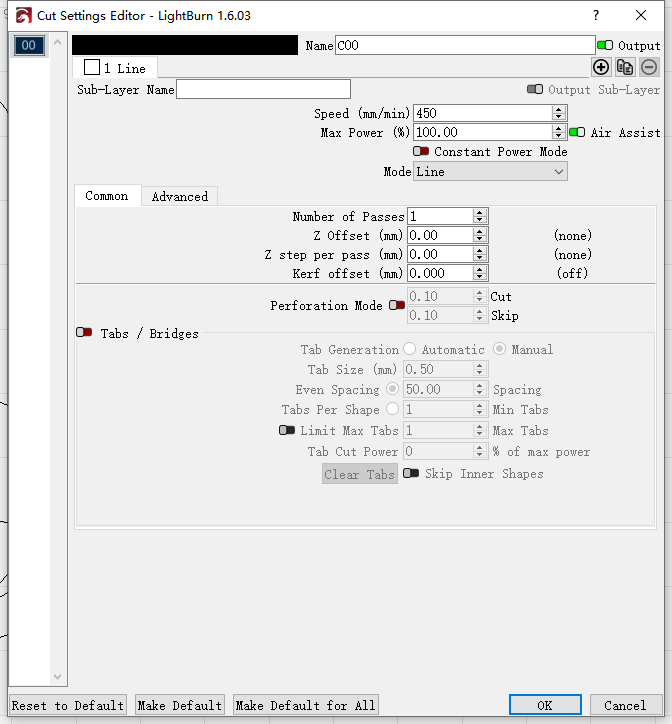
4.The Settings in Lightburn
Cutting: 450 mm/min, 100%power, 1 pass
5.Other Treatment
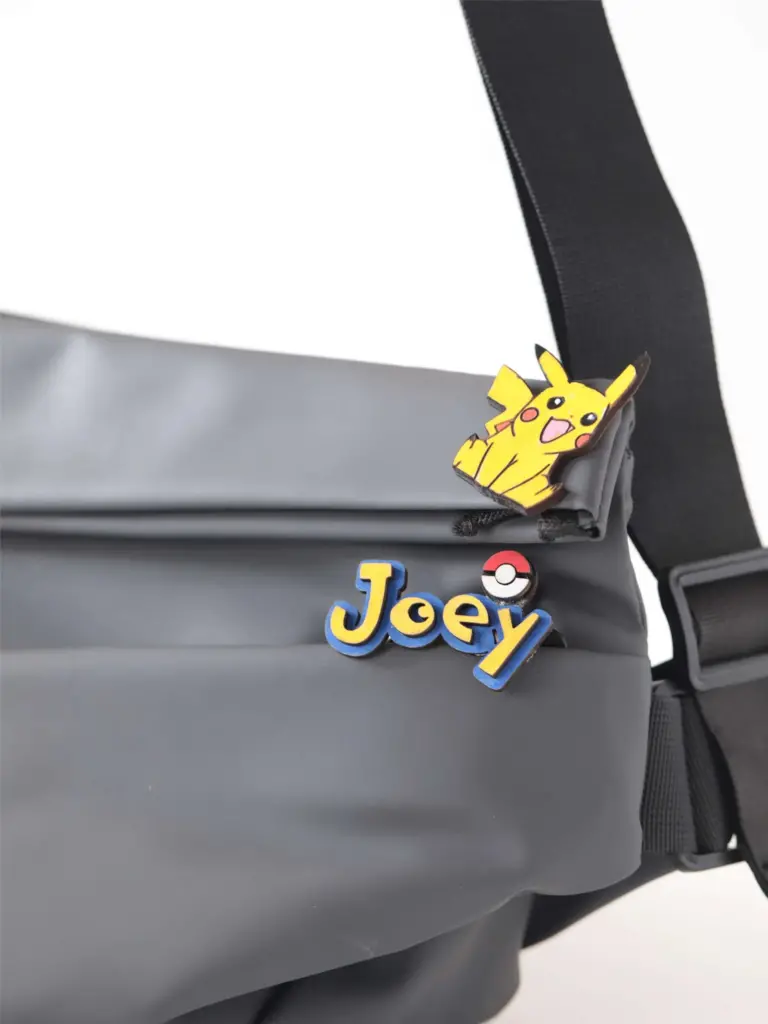
①Refer to the following coloring reference picture for coloring.
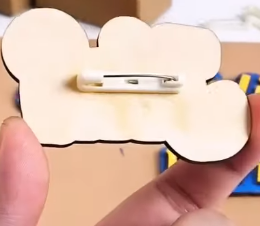
② Glue the badge pin on the back
- ALL-NEW Laser Rotary Attachment: Micron-level precision & One-handed operation
- Plywood Laser Cutting Tutorial: Step by Step – Snake Lantern
- NEJE laser engraver ideas——Zodiac Tailsman
- NEJE laser engraver ideas——Teapot storage
- NEJE laser engraver ideas——Mario refrigerator magnet